CoverSetup - Output features:
![]()
| Sending images to local
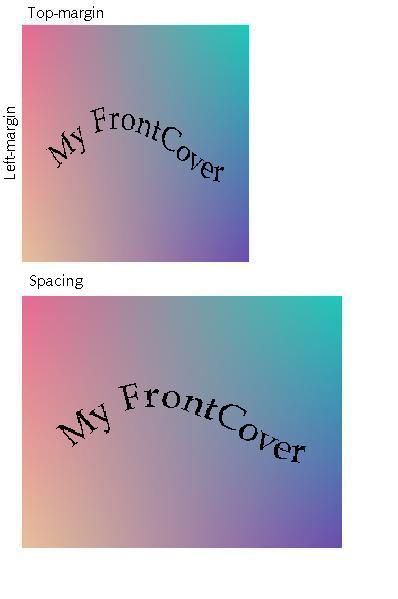
printer In the lower right corner, you'll find the button for sending the images out from CoverSetup. In the ToolBox you can choose between having the images send out to Microsoft Word or out to local printer. Frame around images Synchronize folders Margins
If the images are to wide to fit on an A4-paper they are printed in
landscape. At the control of image-width the height are not checked. If
the images are to big to fit on a A4-paper in both dimensions, the
dimensions are not valid - and the print-job is therefore probably not
correct. It's your responsibility to enter valid image-dimensions
for the A4-paper(!). The Labels are printed from the LabelPrinter-window directly (and from here only). The line-of-order for the Labels-output will be as shown in the tasklist.
SET PRINT QUALITY Hence: In CoverSetup you can set the print quality without interferring with the settings in Windows - and vice versa. The print is presumed made to A4 size paper. Print on other paper-sizes are not supported/recomended. The text at the bottom of the print-icon shows the quality-setting currently used by CoverSetup. Ths text is added at question-mark "+?" if the print-out has been added the function "Ask for FrontCover label" in the ToolBox. CoverSetup has been programmed to choose between four different print-out modes; Low, Draft, Medium and Hight. If your printer supports less than 4 modes (many printers supports only 3 modes), two or more modes can yield the same result. But you might also encounter, that for instance Low-quality yields the same result as the current Windows-setting, while the other three modes gives the result intended by CoverSetup. You will have to experiment some with this feature, to expirience how your printer responds to the settings. We are not able to predict you printerdriver's reaction before-hand. REMARK: CoverSetup's feature of using internally defined print-quality settings independantly from Windows' settings, depends on the actual printer-driver installed. Some printer-drivers might yield the same result for one or more (perhaps for all) settings. In such cases an update/replacement of the printer-driver might solve the problem. If the problem cannot be solved this way, we'll unfortunately have to ask you to set the preferred print-quality in Windows. The number of print-out-rounds in DEMO-mode has been limited to 20 - to urge you to register and support our effort! SELECT OUTPUT Notice that the printer-icon - when Word is selected for output - shows a W-icon for Word.. Be aware also, that when using Word for output, the tools in Word such as making text-boxes and putting in WordArt-images and other images in general - all on top of the images from CoverSetup - will be available at your own pace and temper. This feature makes it indirectly possible to add user-modifications of the images before printing them.
|